In this article, you will learn the essential tips on how to achieve even lighting in your home by properly spacing your ceiling lights. With the right placement and distance between each light, you can create a harmonious and well-lit space that enhances the overall ambiance. Say goodbye to dark corners and uneven illumination as we guide you through the process of achieving optimal lighting distribution throughout your room. So, whether you’re redecorating or just want to improve the lighting in your house, read on to discover the key considerations for properly spacing your ceiling lights.

Measure the room
To properly light a room, you need to first measure its dimensions. This will give you an understanding of the space you’re working with and help you determine the appropriate placement and number of lights needed. Grab a measuring tape and measure the length and width of the room. Write down these dimensions as they will be crucial in calculating the area of the room later on.
Determine the type of lighting
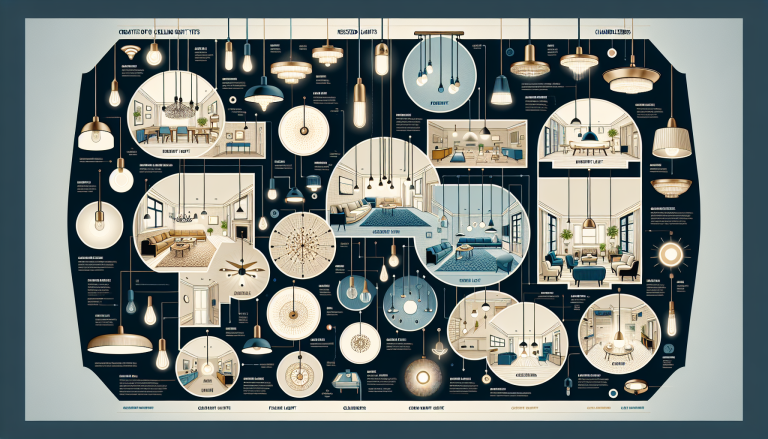
Once you have the measurements, it’s time to decide on the type of lighting you want in the room. There are three main types to choose from: general, task, and accent lighting. General lighting provides overall illumination to the entire space and can be achieved through ceiling-mounted fixtures or recessed lights. Task lighting focuses on a specific area or task, such as a reading nook or kitchen countertop. Accent lighting highlights certain features or objects in the room, like artwork or architectural details.
When considering the type of lighting, think about the function of the room. For example, a kitchen may require a combination of general and task lighting to ensure proper visibility while cooking, while a living room may benefit from a mix of general and accent lighting to create a cozy and inviting atmosphere.
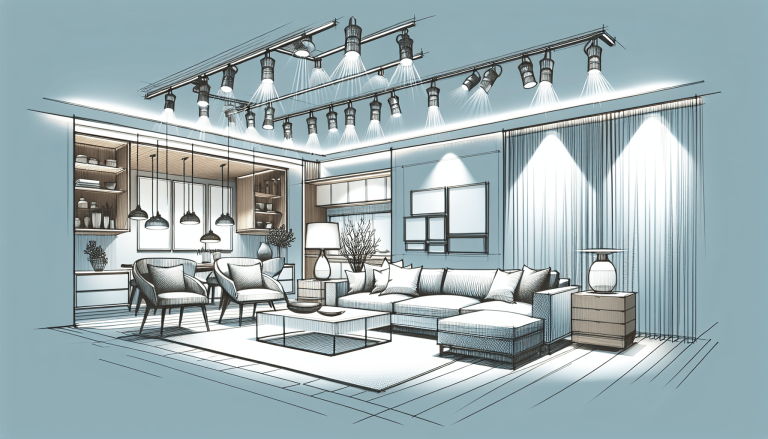
Placement guidelines
To achieve an even distribution of light, it’s important to follow some placement guidelines. A good rule of thumb is to space ceiling lights about 4 to 6 feet apart, depending on the height of the ceiling. For example, if you have a 10-foot ceiling, aim for lights spaced approximately 5 feet apart. This will help prevent any dark spots or areas of uneven lighting.
When determining the placement of the lights, be mindful of the height of the ceiling. Higher ceilings may require lights to be spaced further apart to maintain proper illumination throughout the room. Additionally, avoid placing lights directly above furniture, as this can cause harsh shadows and uneven lighting. Instead, position them slightly off-center or in a way that complements the furniture arrangement.
Creating a balanced lighting scheme is also crucial. This means incorporating a mix of general, task, and accent lighting to create layers of light in the room. This adds depth and visual interest to the space while ensuring that all areas are adequately lit.
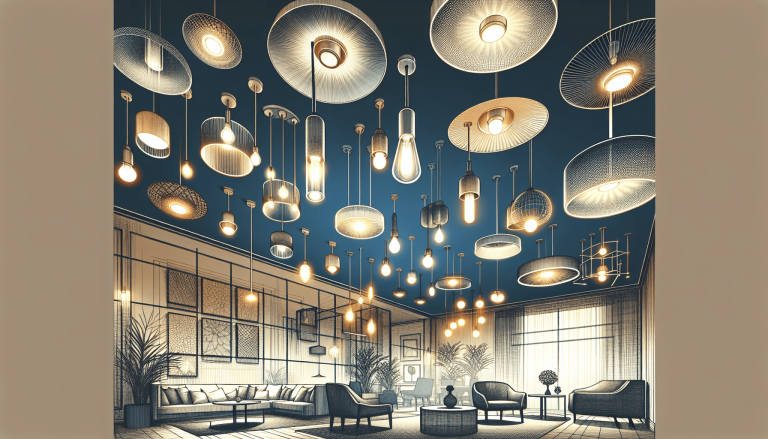
Consider the light fixture size
The size of the light fixtures you choose should be proportional to the size of the room. Overly large fixtures can overwhelm a small space, while tiny fixtures may get lost in a large room. As a general guideline, here’s how you can determine the appropriate size:
For rooms with a ceiling height of 8 to 10 feet, choose fixtures that are around 12 to 20 inches in diameter. For higher ceilings, you can opt for larger fixtures, but make sure they still complement the overall design of the room without overpowering it.

Plan the layout
Once you’ve determined the type of lighting and the appropriate fixture size, it’s time to plan the layout of the lights. Start by deciding on the number of lights needed based on the size of the room and the desired level of illumination. As mentioned earlier, spacing the lights evenly is important, so use the rule of thumb mentioned earlier to guide you.
Divide the room into sections to help determine where the lights should be placed. This will ensure that each section receives adequate lighting and that there are no dark spots. For example, in a kitchen, you may want to have a section dedicated to task lighting above the countertops and another section with general lighting for the rest of the space.
Creating a lighting diagram can also be helpful in visualizing the layout. Using graph paper or a digital design tool, sketch out the room and mark the positions where the lights will be installed. This will serve as a guide during the installation process.
Install the lights
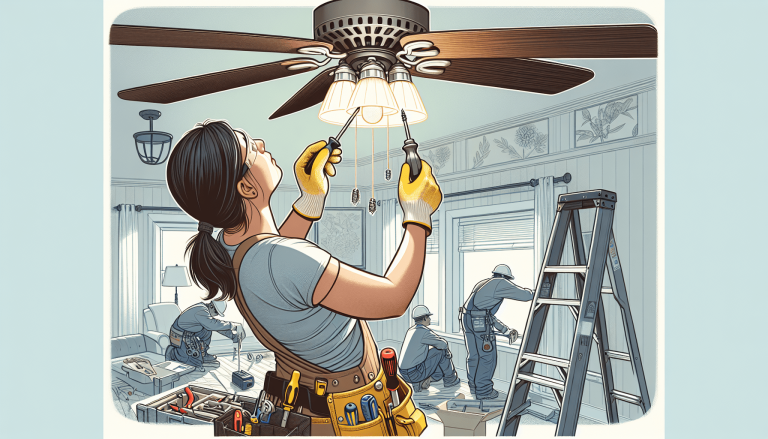
Now that you have a plan in place, it’s time to gather the necessary tools and materials for the installation. You’ll likely need a ladder, a screwdriver, wire strippers, wire connectors, and mounting hardware specific to your light fixtures. Make sure to read the manufacturer’s instructions for any additional tools or materials that may be required.
Before beginning the installation, locate the power source for the lights. This may involve turning off power to the room at the circuit breaker and using a voltage tester to ensure that the wires are not live. Safety should always be a priority when working with electricity.
Next, mark the positions where the lights will be installed according to your lighting diagram. It’s a good idea to use a pencil or tape to mark these spots on the ceiling, as it will make the installation process easier and more accurate.
Once the positions are marked, you can begin connecting the wiring. Follow the manufacturer’s instructions for wiring the light fixtures properly. This may involve connecting the wires using wire connectors and securing them with electrical tape. If you’re unsure about the wiring process, it’s best to consult a professional electrician.
After the wiring is complete, securely mount the light fixtures according to the manufacturer’s instructions. This may involve attaching the mounting brackets to the ceiling and then attaching the fixtures to the brackets. Double-check that all fixtures are stable and secure before moving on to the next step.
Test the lighting
With the lights installed, it’s time to switch them on and evaluate the distribution and intensity of light in the room. Walk around the space and observe if there are any areas that appear darker or lighter than others. If you notice any uneven lighting, you may need to make adjustments to the placement or spacing of the lights.
If the intensity of light feels too strong or too dim, consider adding dimmers or controls to adjust the brightness. This allows for flexibility and allows you to create the desired ambiance in the room. Additionally, layering the lights by using a combination of general, task, and accent lighting can further enhance the overall lighting scheme.
Consider additional lighting techniques
Once you have the basic lighting setup in place, you can consider incorporating additional lighting techniques to enhance the overall aesthetic and functionality of the room. Dimmers and controls, as mentioned earlier, provide flexibility in adjusting the lighting levels. This can be particularly useful in spaces such as bedrooms or living rooms where you may want to create a cozy atmosphere in the evenings.
Layering of lights involves using different types of lighting at different heights and angles to create depth and visual interest. This can be achieved by combining overhead fixtures with wall sconces, table lamps, or floor lamps. By illuminating the room from multiple sources, you can create a more dynamic and inviting space.
Seek professional assistance if needed
While it’s possible to install ceiling lights on your own, it’s important to recognize when professional assistance may be needed. If you’re unsure about any aspect of the installation process, it’s always best to consult with a lighting designer or electrician. They can provide expert advice based on your specific lighting needs and help ensure that the installation is done safely and correctly.
Professional assistance may also be beneficial if you encounter specific lighting challenges, such as unusual room layouts or architectural features that require specialized lighting solutions. A lighting designer or electrician can help you navigate these challenges and come up with creative and effective lighting solutions.
Maintain and clean the lights
Once your ceiling lights are installed, it’s important to regularly maintain and clean them to ensure they continue to function properly and look their best. Dust and debris can accumulate on light fixtures over time, affecting their brightness and overall appearance. Make it a habit to regularly dust and clean the light fixtures using a soft cloth or duster. If necessary, you can also use a mild detergent and water solution to clean any stubborn dirt or stains.
In addition to cleaning, remember to replace bulbs as necessary. Over time, bulbs can dim or burn out completely, affecting the quality of light in the room. Keep spare bulbs on hand and replace them promptly to maintain optimal lighting conditions.
Taking these maintenance steps will not only prolong the lifespan of your ceiling lights but also ensure that they continue to provide even and effective lighting throughout the room.
By following these comprehensive steps, you can properly space your ceiling lights for even lighting and create a well-lit, inviting, and functional space. Whether you’re planning to install new lights or updating an existing lighting scheme, these guidelines will help you achieve the desired lighting results. So go ahead, measure the room, determine the type of lighting, and plan the layout for a beautifully lit space that meets all your needs.