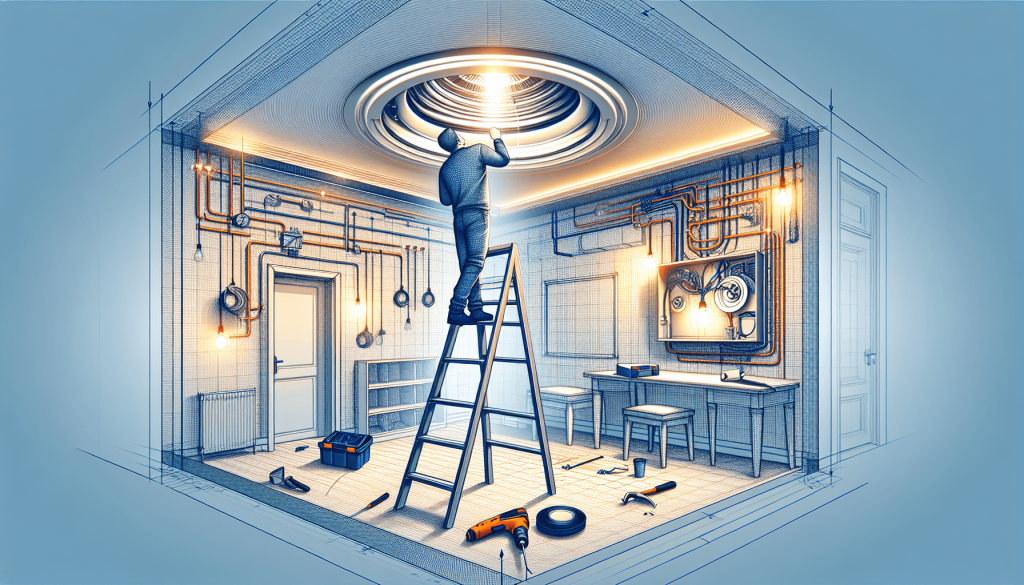
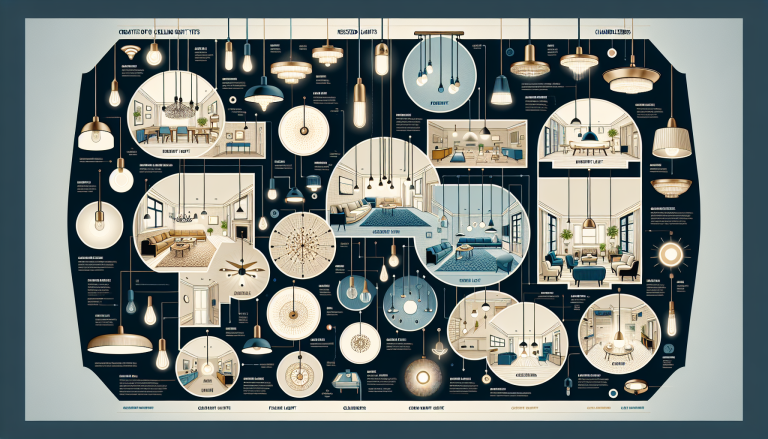
If you’re looking to upgrade your home’s lighting and create a sleek and modern look, installing recessed ceiling lights is the way to go. In this article, you’ll learn all the tips and tricks to tackle this project like a pro. From choosing the right type of lights to understanding the process of installation step-by-step, you’ll have everything you need to bring a touch of elegance to any room in your house. So grab your toolbox and get ready to transform your space with recessed ceiling lights.
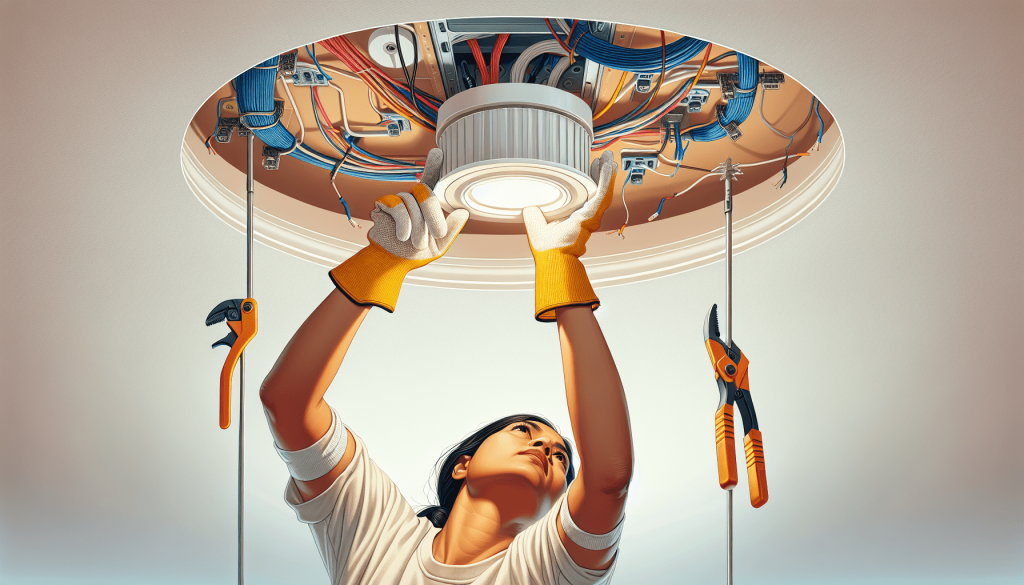
Table of Contents
ToggleGather the necessary tools and materials
To install recessed ceiling lights like a pro, you’ll need a few essential tools and materials. Here’s a list to make sure you have everything you need:
- Recessed light fixture: Choose the type and style that suits your needs and preferences.
- Ladder or step stool: To safely reach the ceiling where the lights will be installed.
- Electric drill: To create the holes for the lights.
- Hole saw attachment: Use the appropriate size for your recessed lights.
- Wire stripper: For removing insulation from wires.
- Electrical tape: To secure wire connections.
- Screwdrivers: Various sizes for any screws or fasteners you may encounter.
- Voltage tester: To ensure the power is off before working on electrical connections.
- Safety glasses: Protect your eyes from any debris that may fall during the installation.
- Wire nuts: Used to join and secure wires together.
- Circuit breaker: You’ll need to switch off the power before starting any electrical work.
- Wire connectors: Another option for joining wires securely.
Make sure you gather all these tools and materials before getting started.
Choose the type and placement of lights
Before diving into the installation process, take some time to decide on the type and placement of your recessed lights. The type of lights you choose will depend on your personal preferences and the overall aesthetic you want to achieve in the space. There are various options to consider, such as traditional recessed lights, LED lights, or adjustable lights that can be angled to highlight specific areas.
Next, think about the purpose of the lighting. Are you installing the lights for general illumination, task lighting, or creating a specific ambiance in the room? This will help you determine the number of lights you’ll need and their placement.
Once you have a clear idea of the type and purpose of the lights, plan the layout and spacing. Consider the size of the room, the height of the ceiling, and any furniture or fixtures that may affect the placement. Mark the locations for the lights using a pencil or masking tape to ensure accuracy during the installation process.
Turn off the power
Safety should be your top priority when working on any electrical project. Before you begin, locate the correct circuit breaker that controls the power supply to the area where you’ll be installing the lights. Once you’ve identified the correct breaker, switch it off to cut off the power.
To be absolutely certain that the power is off, use a voltage tester to test the circuit. The voltage tester will confirm whether there is any electrical current present in the wires. This step is essential for your safety and should never be skipped.
Prepare the ceiling
Now that you’ve ensured the power is off, it’s time to prepare the ceiling for the installation of the recessed lights. Start by removing the existing light fixture, if there is one. Follow the manufacturer’s instructions or consult a professional if you’re unsure how to remove it safely.
While removing the existing fixture, check for any obstructions or wiring that may interfere with the installation of the recessed lights. If you come across any, make sure to address them before proceeding further.
Next, measure and mark the cutout dimensions for the lights. The measurement will depend on the size and style of the recessed lights you’ve chosen. Use a pencil or masking tape to outline the area where the holes need to be drilled.
To ensure a secure installation, use a stud finder to locate the ceiling joists. This step is important because you’ll want to avoid drilling through the joists or hitting any existing wiring. Mark the location of the joists on the ceiling for reference during the hole-cutting process.
Cut the holes for the lights
With the necessary preparations complete, it’s time to cut the holes for the recessed lights. Attach the appropriate size hole saw to your electric drill and make sure it’s securely in place. Align the hole saw with the marked locations on the ceiling and begin drilling.
Take caution to avoid drilling through any ceiling joists or hitting any existing wiring. Double-check your measurements and make sure the holes are evenly spaced if you’re installing multiple lights.
Once the holes have been cut, clean up any debris or dust that may have accumulated. You want to have a clean and safe working environment throughout the installation process.
Install the wiring
Now that the holes are ready, it’s time to install the wiring for the recessed lights. Start by removing the existing electrical box if there is one. Follow proper safety precautions and be mindful of any live wires.
Once the electrical box is removed, mount the recessed light fixtures according to the manufacturer’s instructions. Securely attach them to the ceiling using the provided screws.
Connect the wiring to the recessed light fixtures. Strip the insulation from the wires, making sure to leave enough exposed for a proper connection. Connect the black wire from the fixture to the black wire from the electrical source, and the white wire from the fixture to the white wire from the source. Twist the bare ends of the wires together and secure them with wire nuts. Finally, wrap the connections with electrical tape for added protection.
It’s important to ensure proper grounding during this step. If your fixtures have grounding wires, connect them to the grounding wires in your electrical source or junction box.
Mount the recessed light fixtures
Now that the wiring is complete, it’s time to mount the recessed light fixtures into the holes you’ve cut. Gently insert the fixtures into the holes, ensuring that they fit properly and are aligned with the ceiling.
Secure the fixtures in place using the provided screws. Make sure they are tight and flush with the ceiling to achieve a professional-looking installation. If needed, adjust the depth or angle of the fixtures to achieve the desired lighting effect.
Follow the manufacturer’s instructions for any additional steps specific to your recessed light fixtures. They may have specific requirements or recommendations to optimize their performance.
Connect the electrical wiring
With the fixtures securely in place, it’s time to connect the electrical wiring. Strip the insulation from the wires, leaving enough exposed for a secure connection. Connect the black wire from the fixture to the black wire from the electrical source, and the white wire from the fixture to the white wire from the source. Twist the bare ends of the wires together and secure them with wire nuts.
It’s good practice to wrap the wire connections with electrical tape for added security and protection. This helps prevent any loosening of the connections over time.
Depending on your local building codes and regulations, you may need to install a junction box for the wiring connections. If required, install the appropriate junction box before connecting the wires.
Test the lights and finish the installation
Before calling your installation complete, it’s crucial to test the lights and ensure they are functioning properly. Switch on the circuit breaker and observe if the lights turn on as expected. If not, double-check your wiring connections and troubleshoot any issues that may arise.
Once the lights are working correctly, it’s time to make any final adjustments. This could involve adjusting the trim of the recessed light fixtures or installing light bulbs if they were not included with the fixtures. Ensure that all connections, fasteners, and screws are tight and secure.
Finally, patch any ceiling holes or gaps that were created during the installation process. This will give your ceiling a seamless finish and enhance the overall appearance of the room.
Safety precautions
Throughout the installation process, it’s crucial to prioritize safety. Here are some essential safety precautions to keep in mind:
- Always turn off the power before working on any electrical installations. This helps prevent any electrical shocks or accidents.
- Wear safety glasses to protect your eyes from debris or small particles that may fall during the installation.
- Use a voltage tester to confirm that the power is off before starting any electrical work. This ensures your safety and prevents accidents.
- Be cautious not to cut into or damage any existing wiring while installing the recessed lights. This could result in electrical malfunctions or potential hazards.
- Follow local building codes and regulations to ensure the installation meets safety requirements.
By following these safety precautions, you’ll ensure a smooth and secure installation of your recessed ceiling lights. Enjoy the enhanced ambiance and functionality they bring to your space!

