Have you ever wanted to upgrade your living room or bedroom with a ceiling fan that also has lights? Look no further! In this article, you will find a step-by-step guide on how to install a ceiling fan with lights. Whether you are a DIY enthusiast or a beginner, this friendly and informative guide will walk you through the entire process, ensuring that you can enjoy the benefits of a stylish and functional ceiling fan in no time.
Table of Contents
ToggleChoosing the Right Ceiling Fan
When it comes to choosing the right ceiling fan, there are a few factors to consider. The first thing to think about is the size of the room where you’ll be installing the fan. A larger room will require a fan with a larger blade span to effectively circulate the air. On the other hand, a smaller room can do with a fan that has a smaller blade span.
Another important consideration is the mounting type. Ceiling fans can be mounted in various ways, including flush mount, downrod mount, and angled mount. Each mounting type is suited for different ceiling heights and angles, so it’s important to choose the one that fits your specific needs.
Lastly, it’s crucial to select the appropriate fan size. In general, fans with larger blades move more air, making them ideal for larger rooms or spaces with high ceilings. On the other hand, fans with smaller blades are best suited for smaller rooms or spaces with lower ceilings.
Preparing for Installation
Before diving into the installation process, there are a few steps you should take to ensure a smooth and safe installation. First and foremost, turn off the power to the circuit where you’ll be installing the ceiling fan. This step is essential for your safety and prevents any potential accidents during the installation.
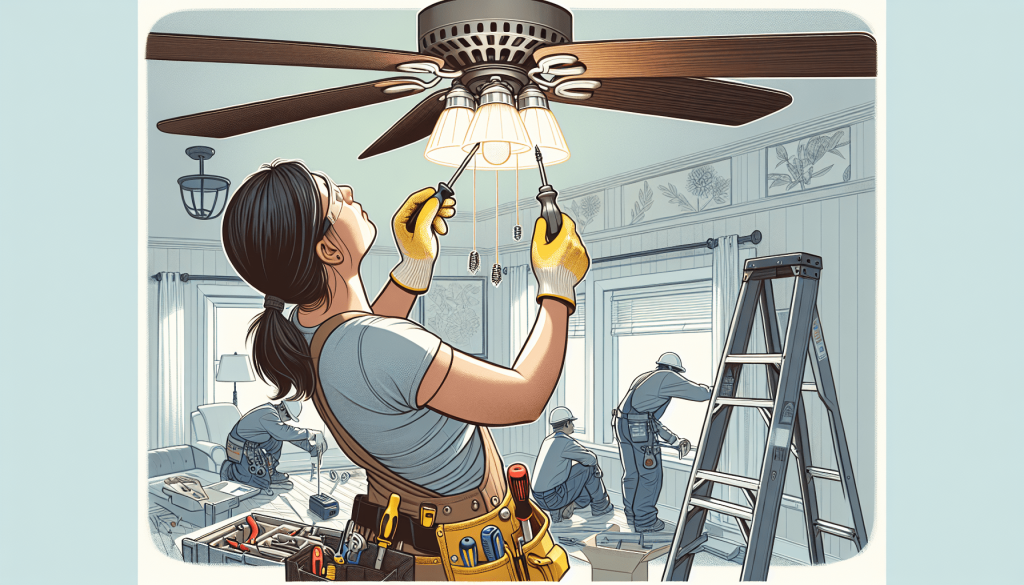
Next, gather all the necessary tools for the installation process. This may include a ladder or step stool, a screwdriver, wire strippers, pliers, and a voltage tester. Having all the required tools handy will make the installation process much smoother and more efficient.
Lastly, it’s crucial to read and understand the instructions that come with your ceiling fan before beginning the installation. Different fans may have specific requirements or instructions, so familiarizing yourself with the manual will ensure that you proceed correctly.
Assembling the Ceiling Fan
Once you have prepared for the installation, it’s time to assemble the ceiling fan. Start by attaching the ceiling bracket to the electrical box in the ceiling. Make sure it’s securely fastened to provide a stable base for the fan.
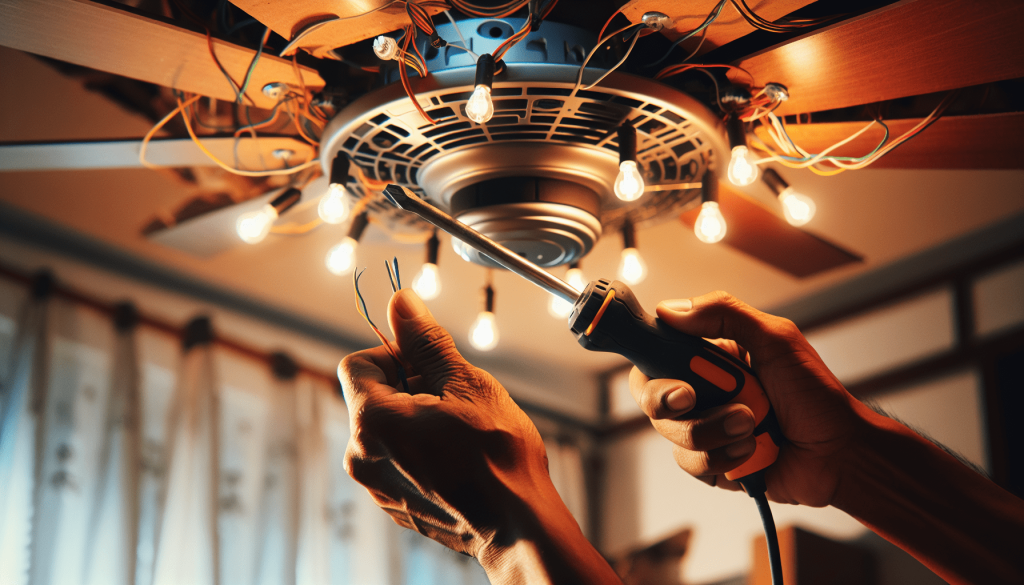
Next, connect the fan wires to the corresponding wires in the ceiling. This may involve stripping the insulation from the wires and using wire nuts to securely connect them together. Following the manufacturer’s instructions is crucial at this stage to ensure proper wiring.
Lastly, secure the fan blades to the fan motor using the provided screws. Make sure they are properly aligned and tightened to prevent any wobbling or instability when the fan is in operation.
Mounting the Ceiling Fan
Now that the fan is assembled, it’s time to mount it to the ceiling. Start by installing the fan mounting bracket, which typically attaches to the electrical box in the ceiling. Ensure that the bracket is securely fastened and can support the weight of the fan.
With the mounting bracket in place, hang the fan onto the bracket, making sure it is properly aligned. This may require the help of a second person to hold the fan while you secure it.
Finally, tighten all the screws on the ceiling fan to ensure it is securely mounted. This step is crucial to prevent any wobbling or instability while the fan is in operation.
Wiring the Ceiling Fan
Once the fan is mounted, it’s time to wire it to the electrical system in your home. Start by connecting the fan wires to the corresponding wires in the ceiling according to the manufacturer’s instructions. Use wire nuts to secure the connections, ensuring they are tight and secure.
After the wires are connected, attach the fan to the ceiling mount or bracket. Make sure it is securely fastened to prevent any movement or instability.
Installing the Lights
If your ceiling fan comes with lights, now is the time to install them. Start by attaching the light fixture to the fan, following the manufacturer’s instructions. Make sure it is securely fastened.
Next, install the light bulbs into the light fixture, ensuring they are properly seated and tightened. Once the bulbs are in place, it’s time to turn on the power supply and test the lights. This step is crucial to ensure that the lights are working correctly and providing sufficient illumination.
Adding Remote Control
For added convenience, you may choose to install a remote control kit for your ceiling fan. Before doing so, make sure to purchase a compatible remote control kit that is recommended by the manufacturer of your fan.
Once you have the kit, carefully follow the manufacturer’s instructions to install and program the remote control. Test the functionality of the remote control to ensure that it operates smoothly and controls both the fan and lights as intended.
Adjusting the Ceiling Fan Settings
After the installation is complete, it’s important to adjust the settings of your ceiling fan to optimize its performance and comfort in your space. Start by setting the fan direction according to the season. In the summer, the fan should rotate counterclockwise to create a cooling breeze, while in the winter, it should rotate clockwise to circulate warm air.
Next, adjust the fan speed to your preferred level of airflow. Most ceiling fans have multiple speed settings, allowing you to customize the airflow based on your comfort needs.
Lastly, ensure that the fan operation is smooth and quiet. If you notice any excessive wobbling or noise, double-check the installation and make any necessary adjustments to ensure proper performance.
Safety Precautions
Throughout the installation process and while using your ceiling fan, it’s important to prioritize safety. Always turn off the power to the circuit before working on the fan to avoid electrocution or electrical accidents. Additionally, when working at elevated heights, such as when mounting the fan, use a ladder or step stool to ensure your stability and prevent falls.
Lastly, it’s essential to read and follow all safety guidelines provided by the manufacturer. These guidelines will provide specific instructions on safe installation, operation, and maintenance of your ceiling fan.
Troubleshooting and Maintenance
Occasionally, you may encounter issues with your ceiling fan or need to perform routine maintenance to keep it in optimal condition. If you experience any wobbling or noise, check for loose connections and tighten any screws or bolts as necessary. Regularly cleaning the fan blades and motor housing will help maintain its efficiency and prevent the buildup of dust and debris.
If you encounter any complex issues or are unsure about performing maintenance tasks, it’s always best to contact a professional for assistance. They will have the expertise to diagnose and resolve any problems you may encounter, ensuring the longevity and performance of your ceiling fan.


