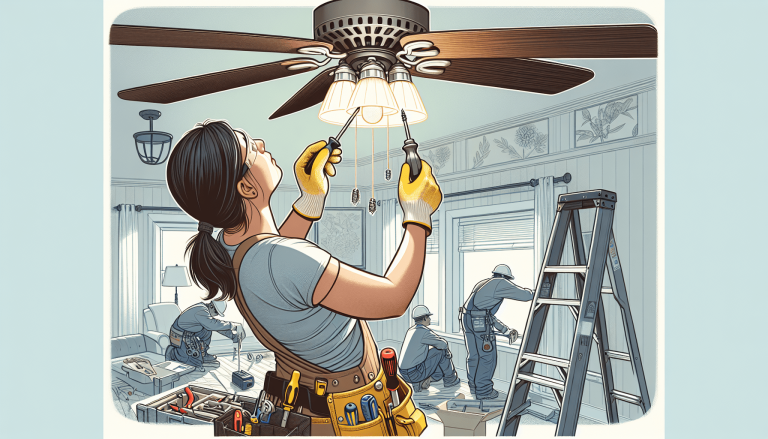
If you’re looking to brighten up your space and add an element of style, installing ceiling lights is a fantastic DIY project to take on. Whether you’re a seasoned home improvement enthusiast or a novice with a passion for hands-on tasks, this guide is here to walk you through each step of the process. From choosing the perfect light fixtures to understanding electrical wiring, this ultimate DIY guide will empower you to transform any room in your home with beautiful ceiling lights. Get ready to enjoy a well-lit and visually appealing space that reflects your personal style and creativity.
Choosing the Right Ceiling Lights
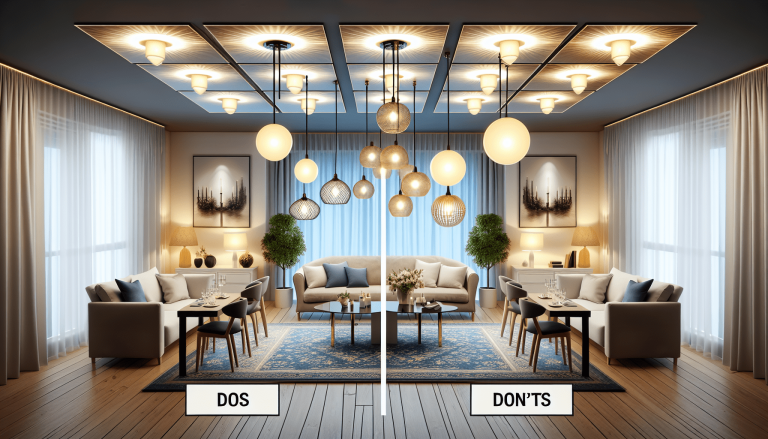
When it comes to choosing the right ceiling lights for your space, it’s important to consider the room’s purpose. Are you looking to create a cozy atmosphere in your bedroom or a bright and inviting feel in your kitchen? Different rooms require different lighting styles and intensities, so take some time to think about what ambiance you want to create.
Another important factor to consider is the ceiling height. If you have low ceilings, you may want to opt for flush mount or semi-flush mount lights to maximize the vertical space. On the other hand, if you have high ceilings, you have the flexibility to choose from a wider range of lighting options, such as chandeliers or pendant lights.
Additionally, think about the lighting style that complements your overall interior design. Are you going for a modern and sleek look, or do you prefer a more traditional and timeless aesthetic? Select ceiling lights that not only provide the right amount of illumination but also enhance the overall style and vibe of your space.
Lastly, don’t forget to consider the bulb type. LED bulbs are highly energy-efficient and have a long lifespan, making them a popular choice for ceiling lights. However, depending on your personal preferences and the desired lighting effect, you may also consider incandescent, halogen, or fluorescent bulbs.
Gathering the Necessary Tools and Materials
Before you embark on your ceiling light installation journey, make sure you have all the necessary tools and materials at hand. You don’t want to find yourself halfway through the process only to realize you’re missing a vital component. Here’s a list of tools and materials you’ll likely need:
-
Screwdriver: A screwdriver will come in handy for removing and securing screws during the installation process.
-
Wire Stripper: This tool is essential for stripping the insulation off the wire ends, enabling seamless electrical connections.
-
Voltage Tester: Safety should always be a top priority when working with electrical systems, and a voltage tester allows you to ensure the power is off before starting any work.
-
Ceiling Light Kit: Purchase a ceiling light kit that includes all the necessary components for installation, such as the fixture, mounting bracket, and necessary screws.
-
Wire Connectors: Wire connectors are used to join wires together securely and ensure proper electrical connections.
-
Ladder: Depending on the height of your ceiling, you may need a ladder to reach the installation area safely and comfortably.
Having all these tools and materials ready will make the installation process go much smoother and ensure that you’re prepared for any situation that may arise.

Preparing the Work Area
Before you begin any electrical work, it’s crucial to take the necessary steps to prepare the work area. Safety should always be a priority, so here’s what you need to do before installing your new ceiling lights:
-
Turn Off the Power: Locate the circuit breaker panel and switch off the power to the area where you’ll be working. This step is crucial to avoid any electrical accidents.
-
Clear the Space: Remove any furniture, decorations, or other obstacles from the area to create a clear and unobstructed workspace.
-
Protect the Floor: Lay down drop cloths or old sheets to protect your flooring from any debris or potential spills during the installation process.
-
Assemble the Light Fixture: Before you start the actual installation, take the time to read through the instruction manual and assemble the light fixture according to the manufacturer’s guidelines. This will make the installation process smoother and ensure you don’t miss any important steps.
By taking these preparatory measures, you’ll create a safe and organized work environment, allowing for a hassle-free installation experience.
Removing Existing Lighting Fixture
If you’re replacing an old or outdated light fixture, you’ll need to remove it before installing your new ceiling lights. Here are the steps to follow:
-
Disconnect the Power: Double-check that the power to the area is turned off by using a voltage tester to ensure there is no current flowing through the wires.
-
Remove the Old Fixture: Unscrew and remove the old light fixture from the electrical box. Take care not to damage any wiring while doing so.
-
Check the Electrical Box: Inspect the electrical box to ensure it’s sturdy and in good condition. If needed, replace it with a new one that can securely support the weight of the new ceiling light fixture.
-
Detach Wires: Carefully disconnect the wires connected to the old fixture, using wire connectors to separate and secure them. Make note of which wires are connected to which for easier installation of the new ceiling lights.
By following these steps, you’ll safely remove the old lighting fixture and be ready to move on to the next stage of the installation process.

Installing the New Electrical Box
If you’re installing a new ceiling light in a spot where there was no previous fixture, you’ll need to install a new electrical box. Here’s what you need to do:
-
Choose the Location: Determine the ideal location for your new ceiling light and mark it on the ceiling using a pencil or marker.
-
Mark the Area: Use the provided template or the dimensions of the new electrical box to mark the cutout area on the ceiling.
-
Cut the Hole: Carefully cut along the marked lines using a drywall saw or appropriate cutting tool. Take your time to ensure a clean and accurate cut.
-
Mount the Box: Insert the new electrical box into the cutout hole and secure it to the ceiling joist or brace using the provided screws. Ensure that the box is level and securely fastened.
By following these steps, you’ll successfully install the new electrical box, providing a secure and stable base for your new ceiling lights.
Wiring the Ceiling Lights
Now comes the electrical wiring process, which requires careful attention and adherence to safety guidelines. Follow these steps to ensure a successful and secure wiring connection:
-
Match the Wires: Match the wires from the new fixture to the corresponding wires in the electrical box. Typically, you’ll have a black wire (hot/live), a white wire (neutral), and a green or copper wire (ground).
-
Strip the Wire Ends: Use a wire stripper to carefully strip about half an inch of insulation from the ends of the wires.
-
Connect the Wires: Connect the black or colored wire from the new fixture to the black or hot wire in the electrical box using a wire connector. Repeat the same process for the white and ground wires.
-
Secure the Connections: Once the wires are connected, tug gently on each wire to ensure a secure and tight connection. If any wires feel loose, tighten the wire connectors.
By following these steps and ensuring that all wires are securely connected, you’ll have a properly wired ceiling light ready for mounting.
Mounting the Ceiling Light Fixture
Now that the electrical wiring is complete, it’s time to mount the light fixture to the electrical box. Here’s what you need to do:
-
Attach Mounting Bracket: Securely attach the provided mounting bracket to the electrical box using the provided screws. This bracket will support the weight of the light fixture.
-
Align the Fixture: Carefully align the screw holes on the back of the fixture with the corresponding holes on the mounting bracket. Hold the fixture in place while securing it with screws.
-
Secure the Fixture: Using a screwdriver, tighten the screws to secure the light fixture to the mounting bracket. Ensure that the fixture is level and evenly aligned.
-
Install Light Bulbs: Depending on the type of ceiling light, you may need to install light bulbs at this point. Refer to the manufacturer’s instructions for the specific type and wattage of bulbs suitable for your fixture.
By following these steps, you’ll successfully mount your new ceiling light fixture and have it securely in place, ready to illuminate your space.
Testing the Electrical Connections
Before you call it a day and admire your newly installed ceiling lights, it’s important to test the electrical connections to ensure everything is working as it should. Here’s what you need to do:
-
Turn On the Power: Return to the circuit breaker panel and switch the power back on to the area where you installed the ceiling lights.
-
Use a Voltage Tester: Carefully use a voltage tester to check each wire connection and ensure there is power flowing to the fixture. Follow the manufacturer’s instructions for proper use of the voltage tester.
By following these steps, you’ll have peace of mind knowing that your electrical connections are sound, and your newly installed ceiling lights are ready to be enjoyed.
Finishing and Cleanup
With the electrical connections tested and proven, it’s time to focus on the finishing touches and clean up the work area. Here’s what you need to do:
-
Tighten Any Loose Connections: Double-check all the wire connectors and screws to ensure they are securely tightened. This step is essential for safety and to prevent any issues down the line.
-
Attach Light Bulb Covers: If your ceiling light fixture includes light bulb covers or shades, now is the time to attach them. Follow the manufacturer’s instructions for proper installation.
-
Tidy up the Wires: Organize and secure any loose wires using wire clips or cable ties. This step will not only improve the appearance but also reduce the risk of accidentally damaging the wires in the future.
-
Clean Up the Work Area: Remove any drop cloths, sheets, or debris from the work area, and give the space a thorough clean to ensure it’s ready to be enjoyed.
By following these finishing and cleanup steps, you’ll ensure that your installation is complete, and your space is left tidy and ready to be admired.
Enjoying the New Ceiling Lights
Congratulations! You’ve successfully installed your new ceiling lights, and now it’s time to sit back and enjoy the fruits of your labor. Here are a few final touches to complete your experience:
-
Turn on the Lights: Flip the switch and bask in the warm glow of your new ceiling lights.
-
Adjust the Lighting: Play around with different light bulbs or dimming options to find the perfect ambiance for your space. Don’t be afraid to experiment and find the lighting that suits your preferences and needs.
-
Admire the New Look: Take a moment to step back and admire how the new ceiling lights have transformed your space. Not only do they provide essential illumination, but they also add a touch of style and sophistication.
With your new ceiling lights shining brightly, you can now sit back, relax, and enjoy the cozy or vibrant atmosphere that they create in your space. A well-lit room can make all the difference, and by following this DIY guide, you’ve accomplished the task with confidence and success.